We know that it was empty for some time and that the roof leaked and there was significant water damage to the floors and . . . it was a mess.
Additionally, some of the workmen hired to do things to this house before we were owners didn't have a whole lot of pride in workmanship. It's discouraging to be taking the time to do a good job on something and have to spend hours and hours undoing sloppiness from someone else. But that's where we are . . .
The kids' bathroom (and our guest bathroom) was awful when we moved in. It was painted bright pink. You can't imagine. As we moved in furniture and boxes, Greg and my step-dad were building a fence in the backyard and my mother-in-law was painting the guest bathroom. I needed to make a decision. I had some blue towels and rugs so we went with white and blue. Done.
Well, that was 12 years ago (September 2001). The kids were 18 mos and 3 when we moved in here . . . they are now teenagers. The paint needed to be updated anyway. The flooring has always been hated (so ugly). In addition, we have had indications that the subfloor under the ugly vinyl flooring was rotting away. So, this summer was the perfect time to tackle this project.
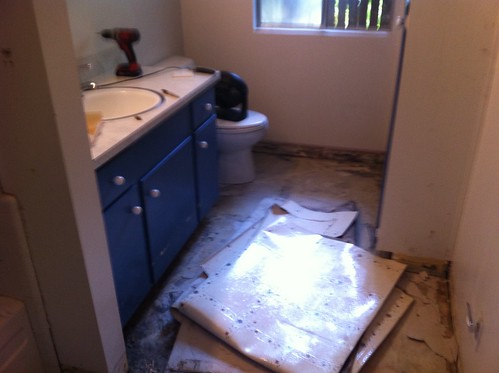
Here are some before pictures:

Such an ugly bathroom. But soon, it will be gorgeous!
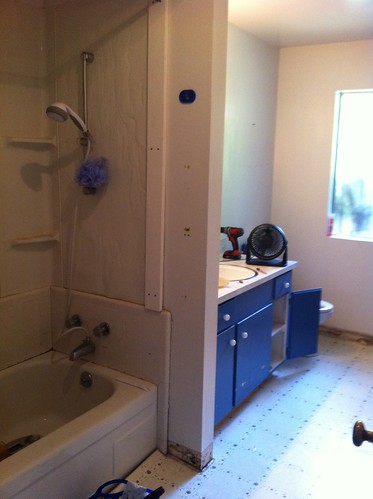
Hideous!
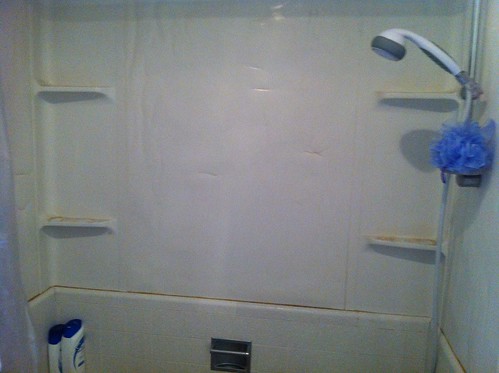
Hating on this shower enclosure. Cheap and non-functioning! Ugh!
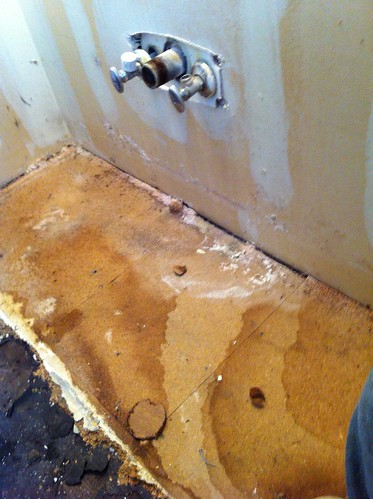
For the demo, we started with the flooring. It was scary because we didn't know what we would find. There were two layers of vinyl, both glued down to particle board. For anyone not familiar with building practices, particle board would NOT be a good choice in a wet environment (or really anywhere). Under the particle board was building paper on top of the heart redwood subfloor.
The good news. That redwood subfloor is in good shape and very solid. Yay!
The bad news. The particle board . . . not so much. So ugly. Near the bathtub (where the vinyl wasn't even glued down properly or caulked correctly), it was mush. Beyond the mush, there was just disintegrating particle board and most of the floor was just too old and falling apart. Great choice of building products.
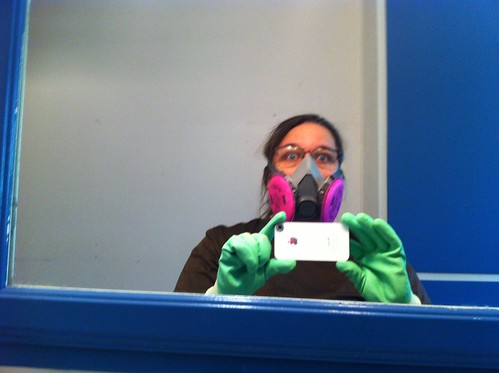
I dressed for success in the clean up. We knew there was mold and I wasn't taking any chances. Stylish, huh?
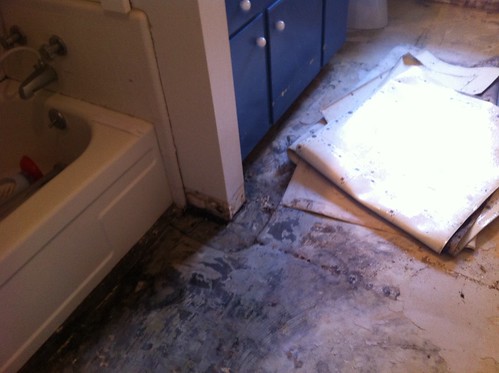
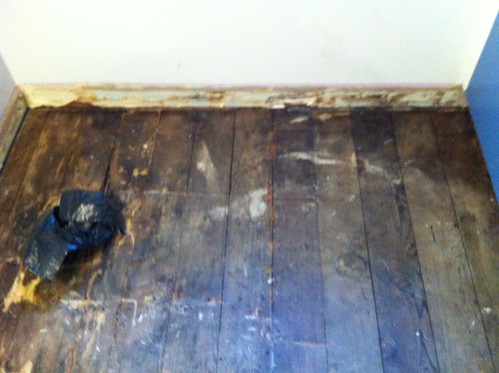
Down to the subfloor near the tub -- lots to do elsewhere.
Pretty ugly, huh?
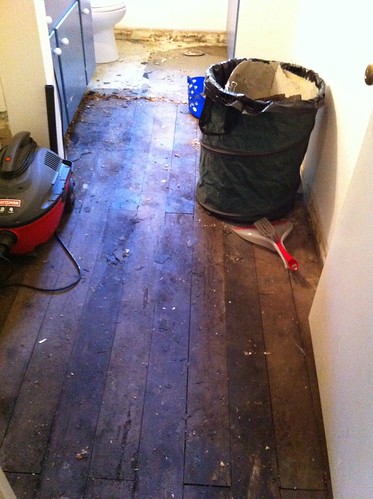
More progress.
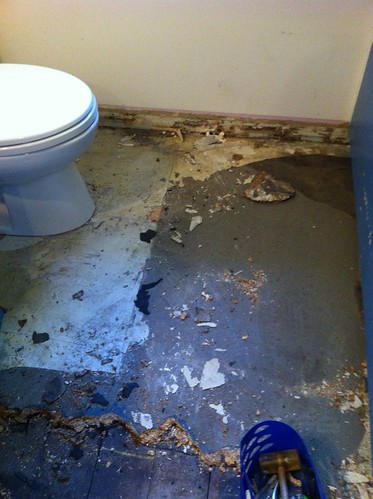
Cleaning it all up was ugly and hard work. We found a few termite infested areas in the particle board. There was evidence of past termite damage in the redwood subfloor near the toilet (which had evidently leaked at some point in the past). So, we treated the subfloor with borate powder before putting down new building paper. 
Peeling back all this plastic crap was really ugly.
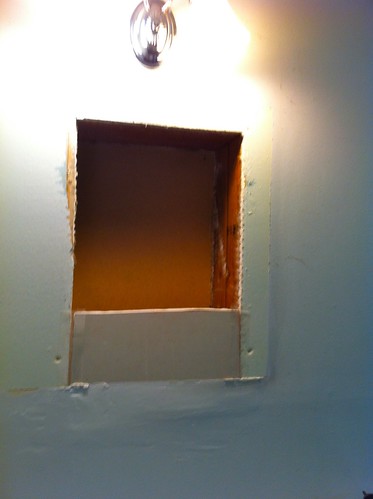
This one kills me. They took out a medicine cabinet at some point and just sloppily patched the hole and then slapped a cabinet over the hole -- it was sitting on top of the wall instead of inside the wall. So annoying. Love the pride in workmanship.
I'm not going to lie -- sometimes this got really discouraging.
See what I mean?
There was old termite damage around the toilet. Joy.
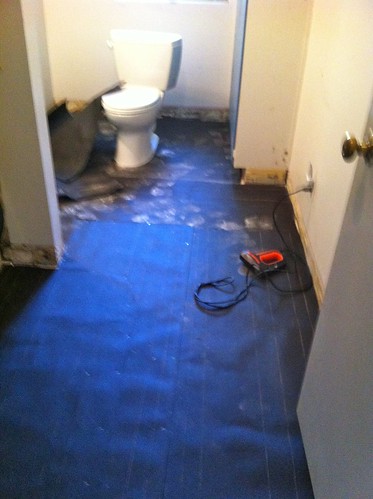
This is our current status.
Next step, we're going to caulk the edges of the room all the way around, with special emphasis near the tub. Then we'll paint primer/sealer on to the plywood and caulk again. Then, we'll be ready to put down the new vinyl flooring -- oh, and more caulk. There will be no more water seeping down to the subfloor. We are done with that.
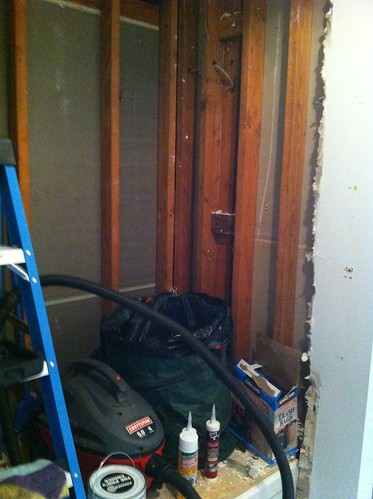
Here's the partially torn apart tub area. We put some plywood down to protect the tub. It's scaffolding for me while I work on these walls and handy storage when we need the floor cleared off!
We are also tearing out the old wallboard around the tub. It wasn't in as bad shape as we feared but it wasn't good, either. We'll be replacing that with wonderboard which is better than the "green" board they used in the 50's. The last prep work we need to do is sanding the remaining cabinet before painting it.
Then, we'll do flooring, paint all the walls, tile the shower/tub area, put up tile baseboards, install the new vanity and sinktop, and install the new medicine cabinet and mirror. That's all.
I'll keep you posted.
...and that is why I would never have the courage to tackle such a job.
ReplyDeleteGood luck!
I understand. There have been a couple of times where I wondered if I had was crazy to tackle this. Usually when we do a project like this, Greg and I are working side-by-side. This time, however, I'm doing much of the work on my own during the week while Greg is working. For a few of the jobs, that has been a big overwhelming. Luckily, Greg works at home so I can call my architect in for a quick consult on the best way to tackle a particular job and on the weekends, he's in there doing the manual labor, too! :) I can't wait to get to the fun stuff -- painting, flooring, new cabinets.
Delete